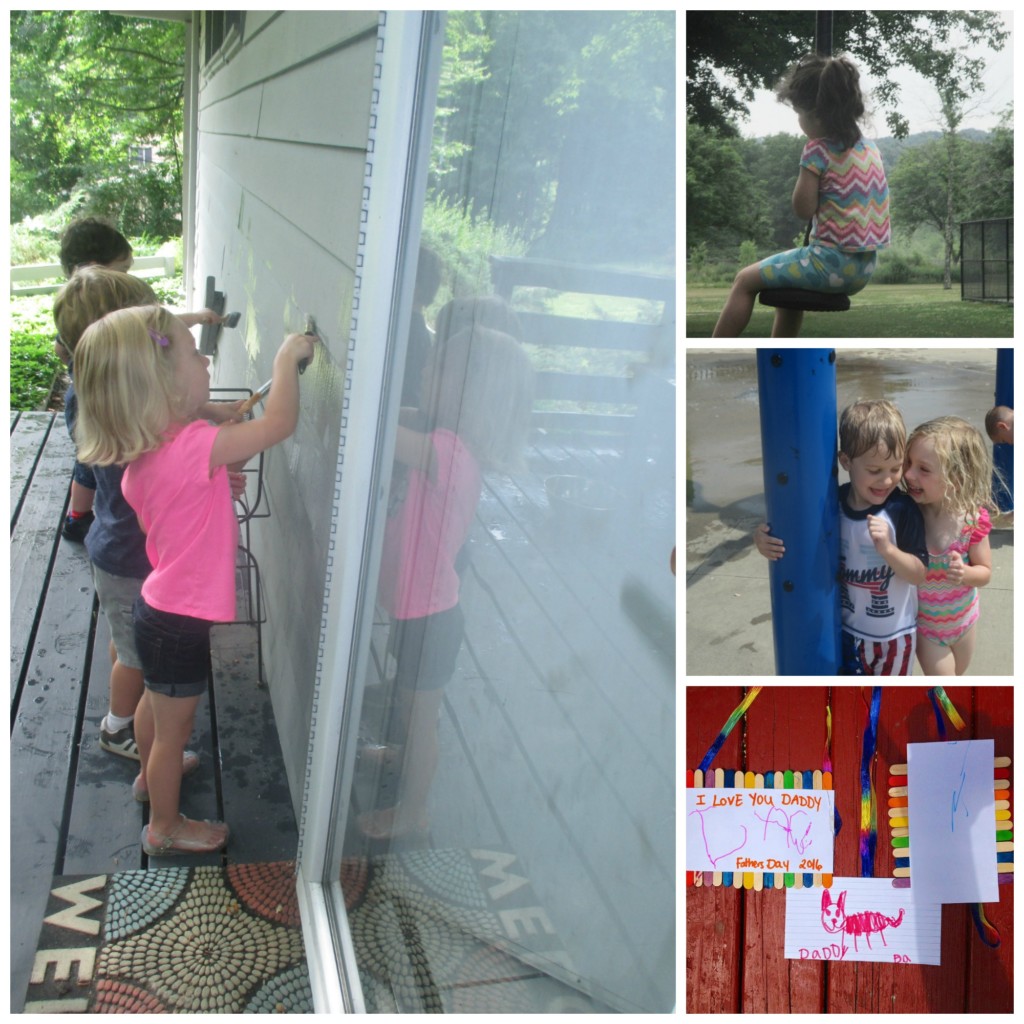
 My friends and I created our own camp last summer. We wanted to make the summer fun for our kids and keep them busy and active. We also did not want to spend a fortune, yet we needed something to stop us from pulling our hair out. It’s not hard to do; most of the work is in setting everything up. It’s pretty much just fun from there on out.
Here are the simple steps of putting it all together.
Step 1: Decide what you want from your camp, and [carefully] chose who you want to involve.
My friend’s daughter is autistic, making it difficult for her to attend most camps without one-on-one supervision. Her mom was very concerned about the tolerance level of her daughter’s peers (6/7-year-olds) and, sadly, the parents. Our DIY summer camp idea grew from our collective four children getting together to pass the time to include other close friends and their children who were sensitive to my friend’s worries.
Each of the core group members was allowed to invite someone who would also be responsive to our needs. The group had to be inclusive to work towards its main purpose – no judgment and ill feelings for the special needs community. That idea worked well for us, so I would suggest being picky about your members.
Step 2: Set up an Easily-Available Schedule
A Facebook group was set up to organize everything. As the administrator, I set up blank events on all the days we had chosen and let everyone in the group pick the days they were willing to host an event – first come, first serve style. I made them co-hosts of the day/s they chose so that they could fill in all of the details as they saw fit.
Hosting an event meant that you were in charge of the what, when, where, and other details. Hosting was not mandatory, and no one was looked down upon if they didn’t want to host at all. Hosting meant that it could be ANYWHERE. You didn’t need to have children running around your home if you didn’t want to. You could decide how many kids could attend if it was a small space or if you wanted to serve lunch or a snack. If you were planning something with materials, it was okay to charge a few dollars to cover the cost.
Step 3: What to do?
I happen to be friends with many crafty people, so coming up with ideas wasn’t really an issue for us. If we had wanted to meet seven days a week, I’m sure we could have gone all summer without repeating ideas.
A few of our camp ideas were: MANY trips to a variety of parks, playdough, local library events, picnics, a movie, theme activities, and age-appropriate experiments, and more. We used the strengths of the members to our advantage. Consider: Does someone live near the beach? Have a huge backyard to run around in? Do they have a giant sandbox a bunch of kids can use? One note for those wanting to do this: I suggest insisting your group members be vigilant about RSVPing to events. It makes for happier kids if you aren’t waiting around.
Summer went by quickly last year, and we’re already chomping at the bit to get started on this year’s Summer Camp. We learned what did and didn’t work for us, so we’re ready to use that knowledge to make this an even better summer than last!


